Nutty black chickpeas cooked in spicy gravy; accompanied by the sweetish Ivy gourd and gently tempered with coconut and jaggery. This is one dish that is close to my heart, the one that takes me back to my childhood every single time, with the taste still lingering in my memory forever.
Though my mum makes this dish often, she confesses to learning it from her mother. My dear grandmother at whose place I’ve spent many a happy holidays. Even to date, whenever my mum gets black chickpeas; I know for sure what’s on the menu. Every step of the recipe is magical, right from the moment when the chickpeas are pressure cooked to when the masalas are being sautéed and then finally the coconut garnish; food porn if I could call it that. And that’s not all, there is a bit of tradition involved as well. The 8th of September, is a special day; where Christians celebrate the Nativity of the Blessed Virgin Mary. This day, the menu is special and is called ‘Noven Jowaan’ roughly translated to ‘new meal’; the new signifying that the meal has been prepared from the new harvest as a thanksgiving to the almighty for his graces. The dishes are prepared in series of odd numbers and this one definitely makes it to that spread.
Somehow, very honestly, I had long wanted to post this but somehow didn’t get to do it. It was the only the other day when I headed to a meeting outside office and had to eat a restaurant. I ordered this one and believe me, the beauty of the dish had been massacred. Seriously, nothing pains me more than Manglorean food gone wrong. I decided to come home and get it done.
So then, here is a family recipe. Like its made at my home. Try it, garnish it with spices, temper it with coconut and serve it love. My family loves it, I’m sure yours would too.

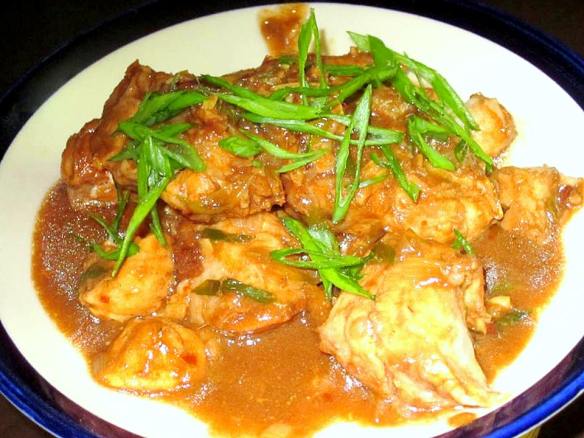
Black Chickpeas and Ivy Gourd Fugadh
Ingredients:
- 200 grams, black chickpeas, refer cooking instructions below in the procedure
- 100 grams, Ivy gourd, cut length wise
- 50 grams fresh coconut, grated
- 50 grams jaggery, roughly chopped
- 2 medium onions, finely chopped
- 5-8 cloves of garlic, minced
- 1 large tomato, finely chopped
- 3 tablespoons corriander seeds
- 1 tablespoons, black pepper corns
- 1 tablespoon, cummin seeds
- 1 teaspoon, mustard seeds
- 7-8 Whole red chillies
- 1 small teaspoon, turmeric powder
- 1 Sprig Curry leaves
- 3 tablespoons oil
- Salt to taste
- 300 ml water
- Soak the black chickpeas in 300 ml water overnight or atleast 6-8 hours. Wash them under running water till water runs clear.
- After washing, pressure cook for about 15 minutes or till you hear about 3 whistles. Retain the water if you wish to have some gravy
- Dry roast the corriander seeds, pepper corns, cummin seeds, and red chillies till they give out a nice aroma. Once done, cool for a while and then, grind to a fine powder. Keep aside.
- Heat the oil in a pan, add the curry leaves and mustard seeds. Wait till the seeds splutter.
- Add the garlic and let it . Then add the onions and saute till the onions turns translucent.
- Now, add the coconut, turmeric and the powder. Saute, till the oil has started leaving the sides
- Now, add the chickpeas and the Ivy gourd and mix well.
- Add the salt, jaggery and tomatoes and give it a good mix. Cover and cook for about 7 minutes.
- If required, add some water from the boiled chickpeas.
- Serve hot with rice or chapattis.